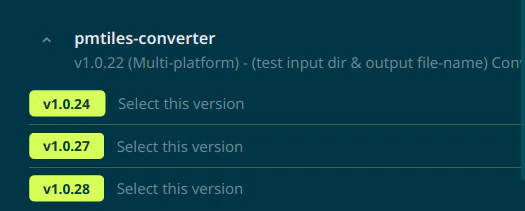
 2. Click "select this version" to open the job dialog.
3. Fill in the required input parameters and choose an appropriate machine type. Note that larger machines may take longer to start up.
2. Click "select this version" to open the job dialog.
3. Fill in the required input parameters and choose an appropriate machine type. Note that larger machines may take longer to start up.
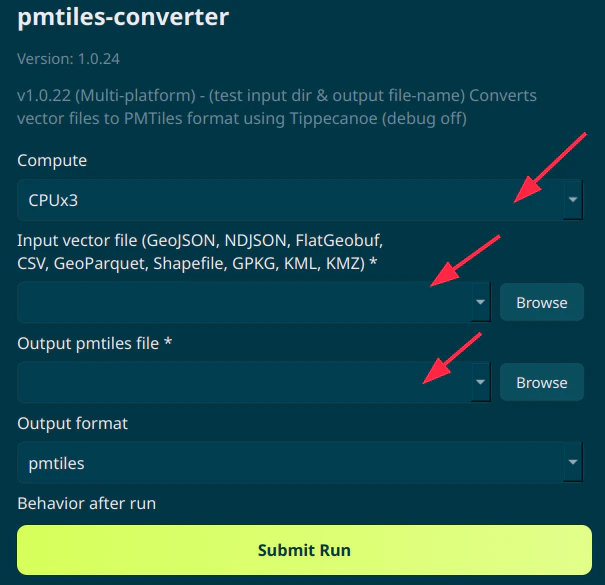 4. Configure what you want to do after the job completes:
* Download the outputs to your local machine
* Add the outputs as layers to your QGIS project
4. Configure what you want to do after the job completes:
* Download the outputs to your local machine
* Add the outputs as layers to your QGIS project
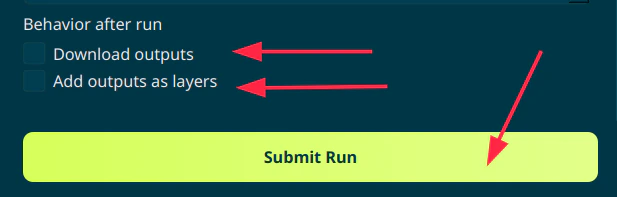 5. Click the "Submit Job" button to submit the job. If you choose to download the outputs, you will be prompted to select a folder to download the outputs to.
6. The job will be submitted and you will be able to view the job in the "Job History" panel.
5. Click the "Submit Job" button to submit the job. If you choose to download the outputs, you will be prompted to select a folder to download the outputs to.
6. The job will be submitted and you will be able to view the job in the "Job History" panel.
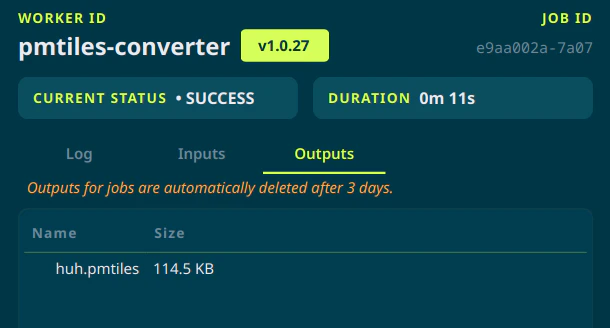
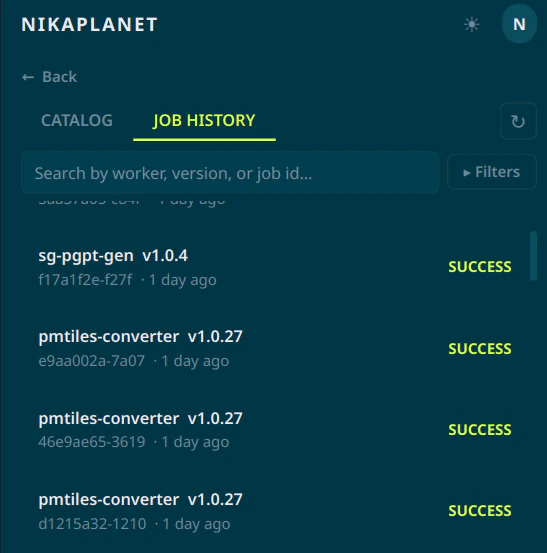 7. Once the job completes, you will be able to view the outputs by clicking on the job in the "Job History" panel and clicking on the "outputs" tab.
 2. Click "select this version" to open the job dialog.
3. Fill in the required input parameters and choose an appropriate machine type. Note that larger machines may take longer to start up.
4. Configure what you want to do after the job completes:
* Download the outputs to your local machine
* Add the outputs as layers to your ArcGIS Pro project
5. Click the "Submit Job" button to submit the job. If you choose to download the outputs, you will be prompted to select a folder to download the outputs to.
6. The job will be submitted and you will be able to view the job in the "Job History" panel.
7. Once the job completes, you will be able to view the outputs by clicking on the job in the "Job History" panel and clicking on the "outputs" tab.
2. Click "select this version" to open the job dialog.
3. Fill in the required input parameters and choose an appropriate machine type. Note that larger machines may take longer to start up.
4. Configure what you want to do after the job completes:
* Download the outputs to your local machine
* Add the outputs as layers to your ArcGIS Pro project
5. Click the "Submit Job" button to submit the job. If you choose to download the outputs, you will be prompted to select a folder to download the outputs to.
6. The job will be submitted and you will be able to view the job in the "Job History" panel.
7. Once the job completes, you will be able to view the outputs by clicking on the job in the "Job History" panel and clicking on the "outputs" tab.