Invite to Workspace
Inviting users to specific workspaces allows you to grant access to particular projects, datasets, or collaborative environments while maintaining security boundaries. This guide covers the process of inviting users to individual workspaces.Overview
Workspace invitations provide:- Granular access control to specific projects
- Secure collaboration on sensitive data
- Project-specific permission management
- Temporary or permanent access options
How to Invite Users to a Workspace
Step 1: Access the Share Dialog
From your workspace dashboard, locate and click the Share button in the top navigation bar. This button is prominently displayed and will open the sharing interface.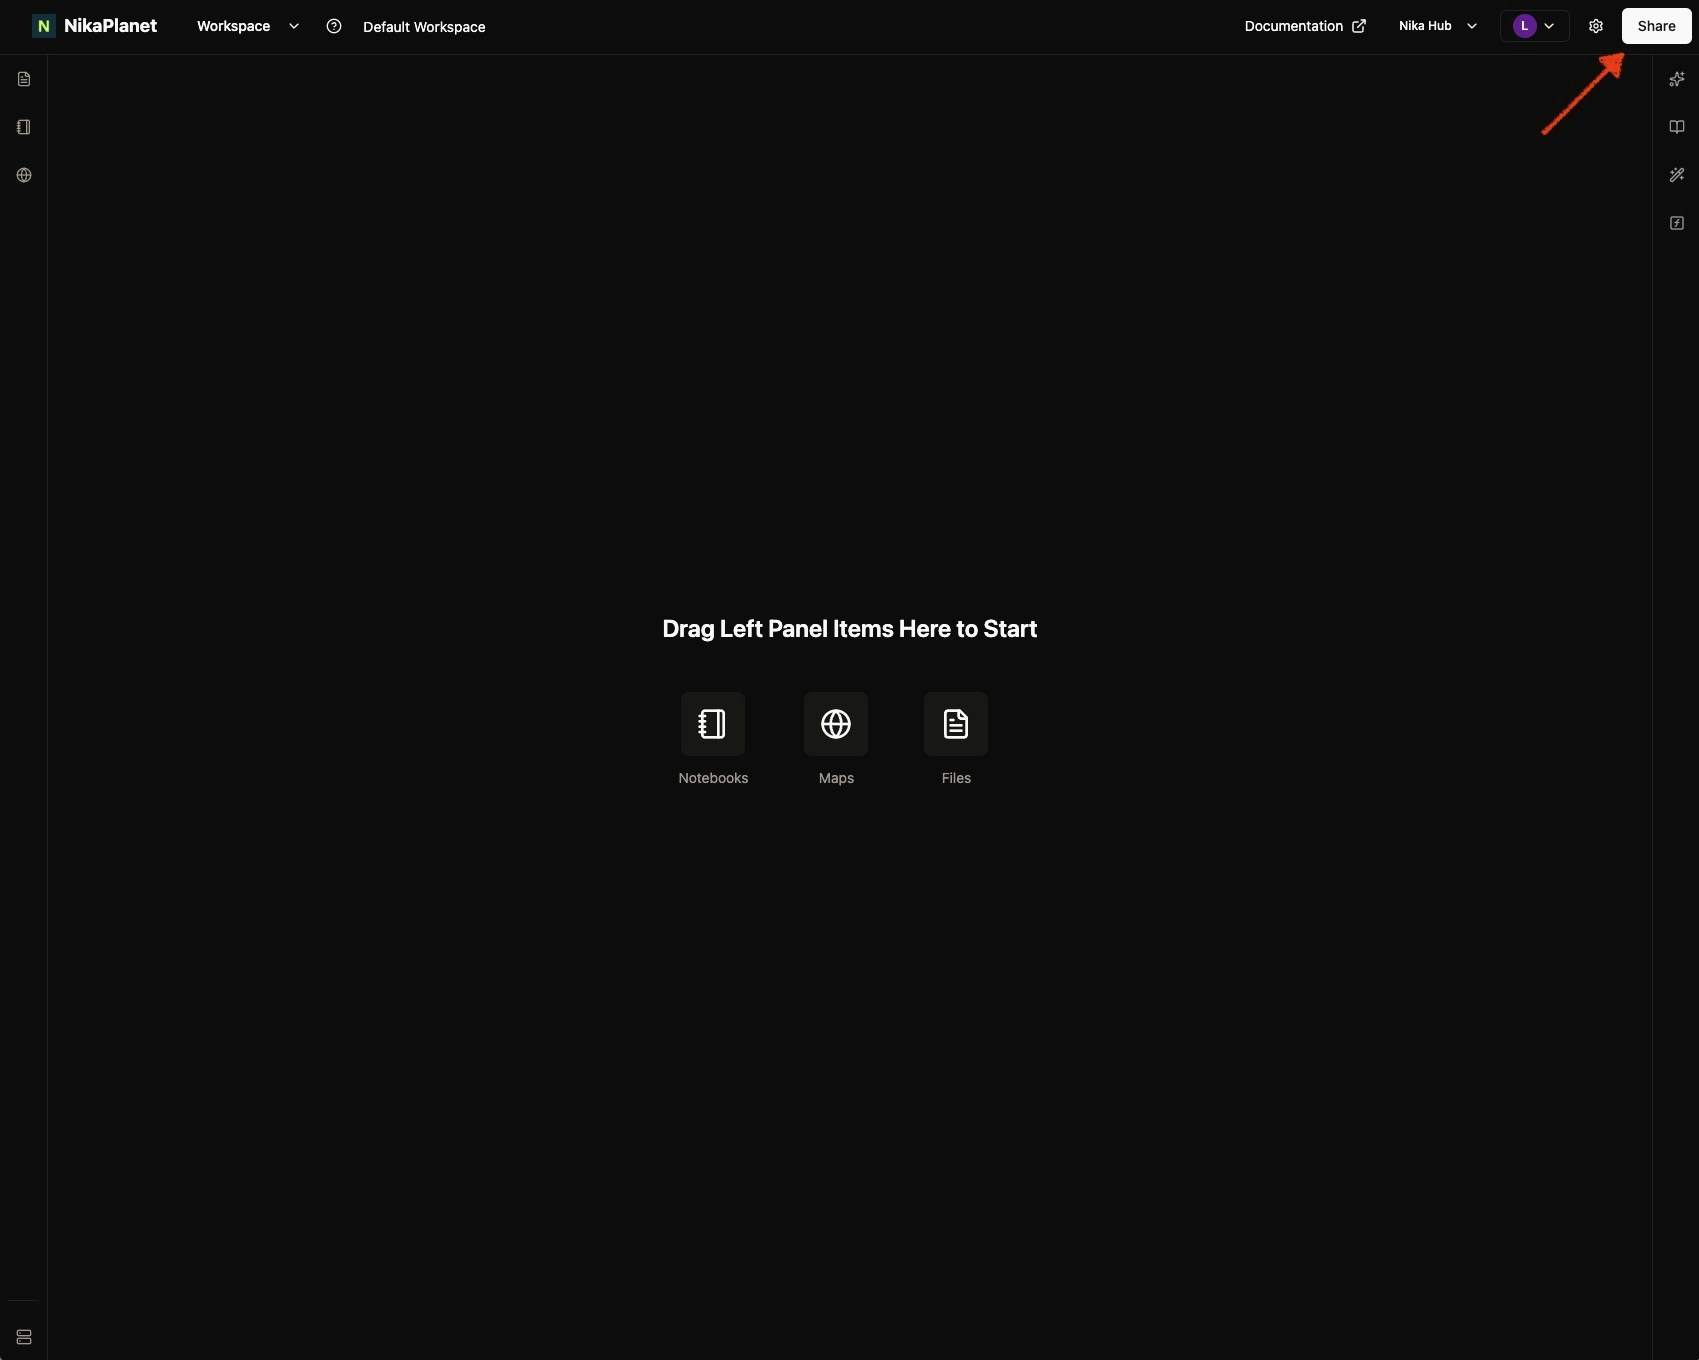
Step 2: Navigate to the Share Tab
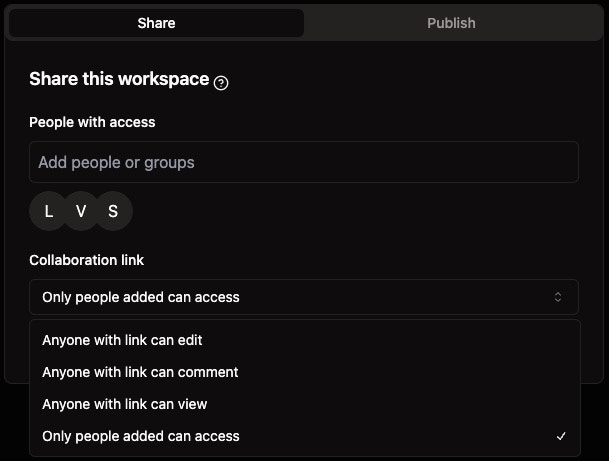
In the sharing dialog, you can see a dropdown to select the current workspace’s sharing mode, which includes:- Anyone with link can edit - least secure but public access for anyone with a Nika account
- Anyone with link can comment - same as above, but public users can not edit assets in this workspace
- Anyone with link can view - same as above, but public users can not edit nor comment on assets in this workspace
- Only people added can access - workspace is not open to public, but only people or teams listed in the
People with accesssection above
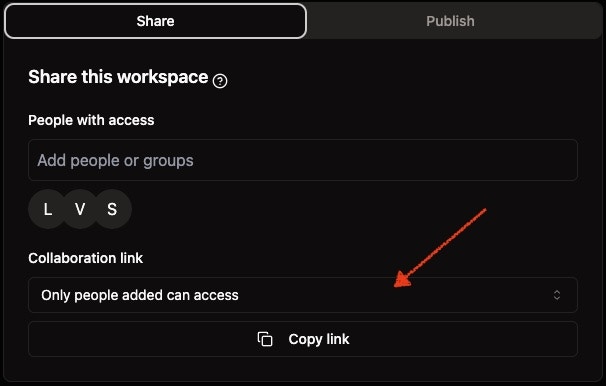
Step 3: Add People or Team to Your Workspace
In the “People with access” section, click on the input field labeled “Add people or groups”. This field allows you to search for and add new collaborators to your workspace.
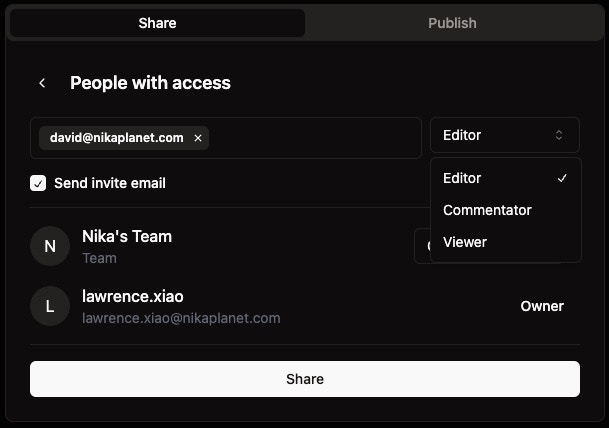
Step 4: Enter Email and Select Role
Type the email address of the person you want to invite (e.g., “david@nikaplanet.com”). After entering the email, you’ll see a dropdown menu appear where you can select the appropriate role:- Editor: Can create, modify, and delete assets within the workspace
- Commentator: Can view content and add comments
- Viewer: Read-only access to workspace resources
Step 5: Complete the Sharing Process
The invited user will receive an email invitation and can accept it to join your workspace with the specified permissions.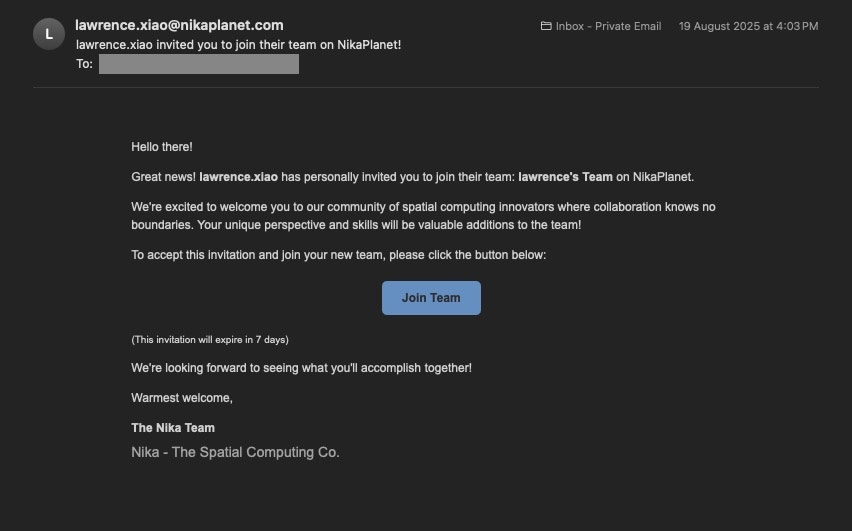
Workspace Access Levels
Different permission levels are available for workspace access:- Owner: Full control over the workspace, including deletion and member management (shown as “Owner” in the interface)
- Editor: Can create, modify, and delete content within the workspace
- Commentator: Can view content and add comments to workspace resources
- Viewer: Read-only access to workspace resources and content
Workspace-Specific Permissions
Content Access
- Files: in Nika’s data lake for this workspace
- Notebook instances: in Nika Notebook which is a Jupyter-compatible collaborative python notebook for data science analysis
- Map instances: in Nika Mapwhich uses Nika’s collaborative map engine that handles geospatial analysis for GB sized vector and raster data sources
Collaboration Features
- Comments: Enable or disable commenting capabilities
- Sharing: Control whether users can share workspace content externally
- Export: Manage data export and download permissions
Managing Workspace Invitations
Invitation Status Tracking
Monitor the status of workspace invitations:- Pending: Invitation sent but not yet accepted
- Accepted: User has joined the workspace
- Expired: Invitation has expired and needs renewal
Security Considerations
Access Control Best Practices
- Principle of Least Privilege: Grant only the minimum access necessary
- Regular Audits: Periodically review workspace access and permissions
- Temporary Access: Use time-limited access for external collaborators
- Activity Monitoring: Track user actions within sensitive workspaces
Data Protection
- Ensure invited users understand data handling requirements
- Implement appropriate data classification and access controls
- Monitor for unusual access patterns or unauthorized sharing
Troubleshooting
Common Workspace Invitation Issues
- Permission Denied: Verify you have edit rights to the workspace to be able to invite others into this workspace
- User Not Found: Check email address accuracy and user account status
- Invitation Limits: Check if you’ve reached workspace invitation limits
Getting Support
For workspace access issues:- Contact your team/org administrator
- Review workspace settings and permissions
- Reach out to support for technical assistance
Next Steps
After setting up workspace invitations:- Invite to Team - Learn about team-level invitations