Step 1: Access NikaMap
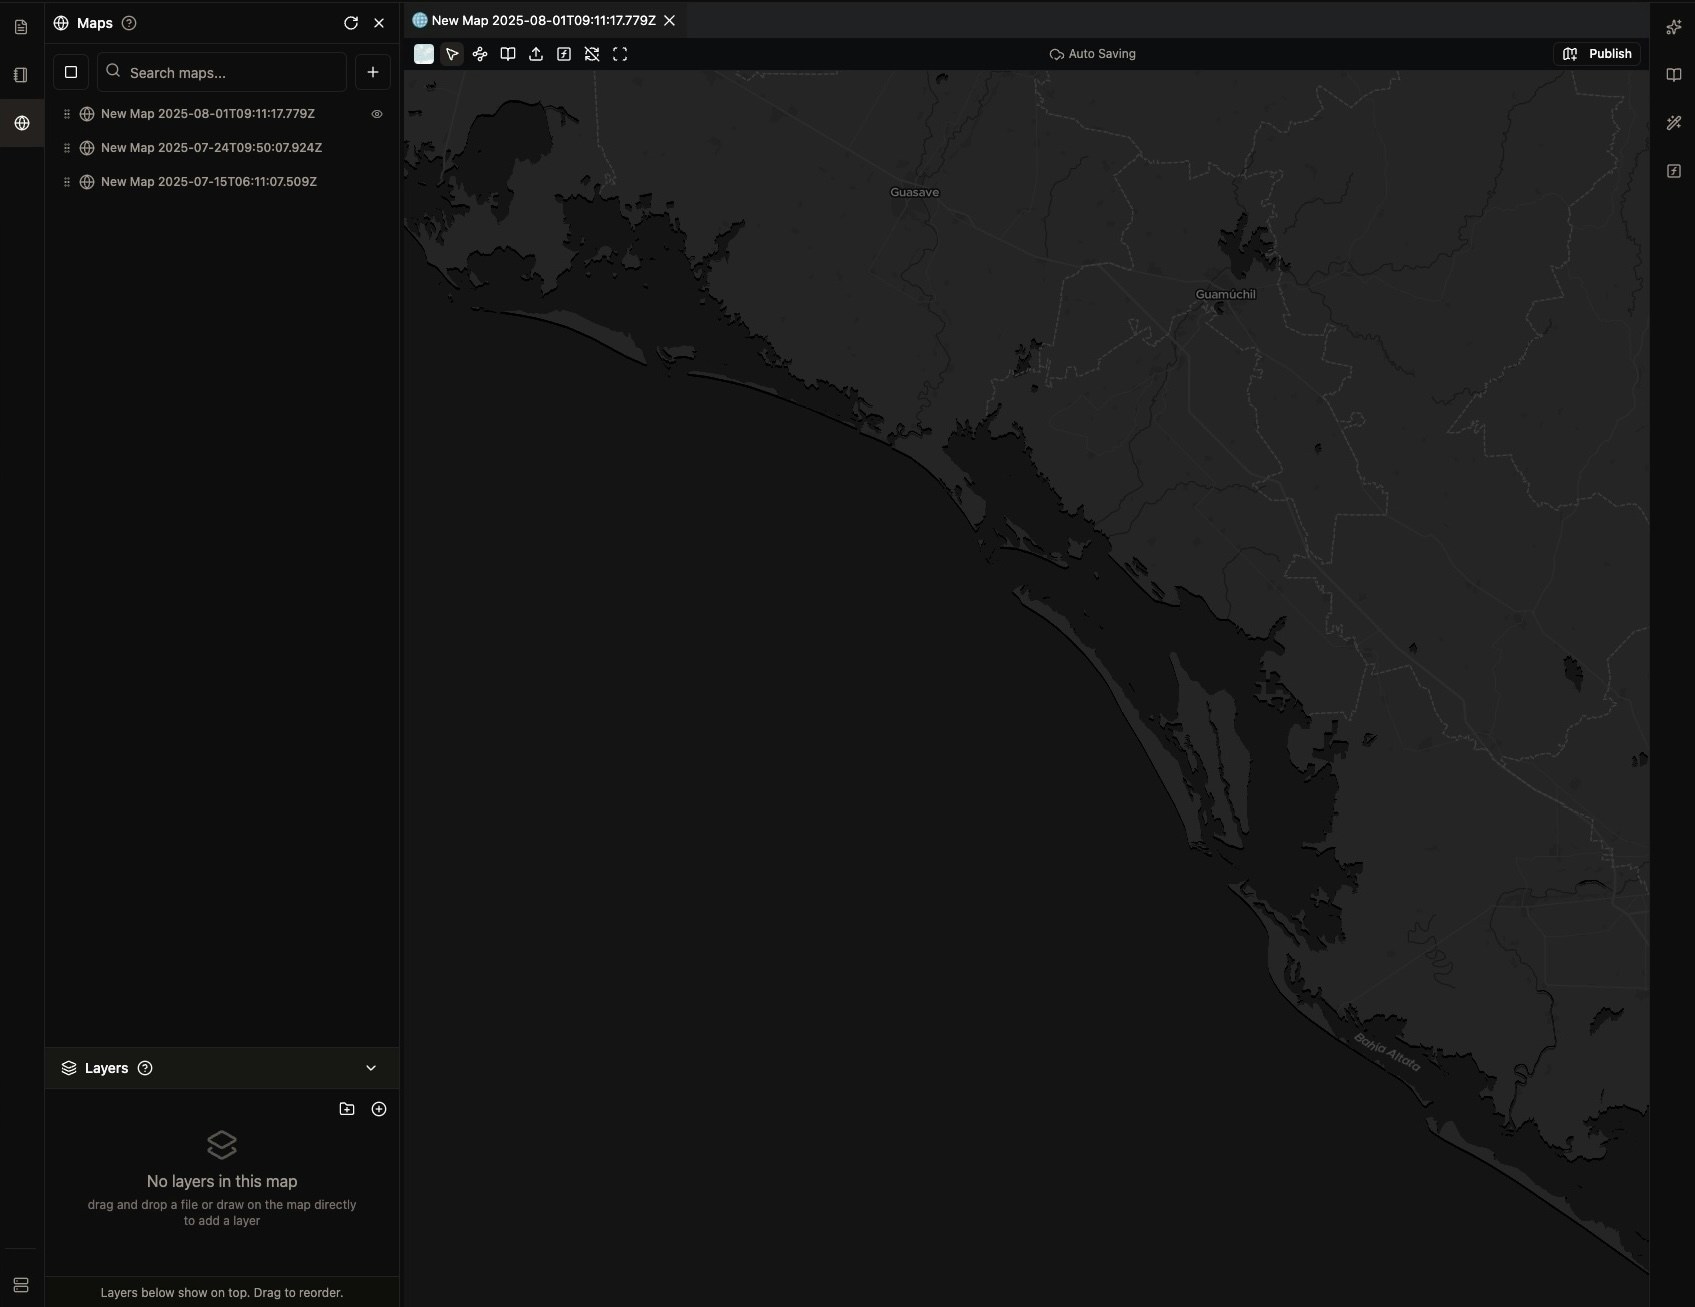
- Navigate to NikaMap: In NikaWorkspace, click on the Globe icon in the left sidebar
- View Map List: You’ll see a list of your existing maps on the left panel
-
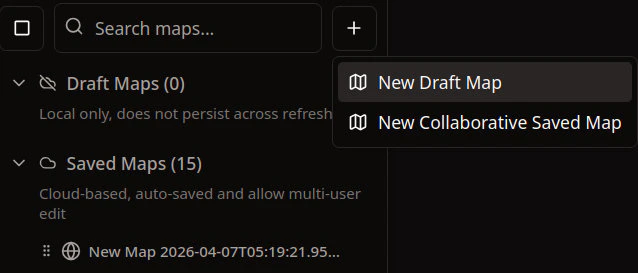
Create New: Click the ”+” button to see two options.
- Draft maps are erased on refresh
- Collaborative Saved maps persist between sessions.
- First Map: Your first map will appear in the middle of the screen
Step 2: Rename Your Map
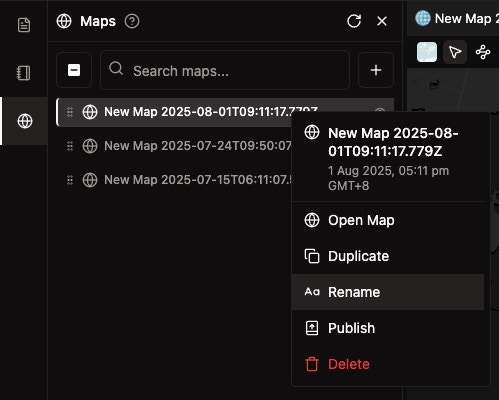
- Reame: Right click on a map to open rename dialog
- Save: Click “Save” to finalize
Step 3: Choose Your Basemap
When creating a new map, it will by default usedataviz basemap, you can follow Change Base Map to select other options.
Tips and Best Practices
Map Organization
- Descriptive Names: Use clear, descriptive names for your maps
- Consistent Naming: Follow a naming convention for your team
- Cleaning: Right click to delete temporary maps that you will no longer use
Performance
- Start Simple: Begin with a basic basemap and add complexity gradually
- Layer Limits: Theoretically NikaMap can load large vector and raster
- Auto Saving: NikaMap will auto save your changes, no more worry of data loss