Step 1: Add a New Class
Use the bottom of the labeler right panel to add new class entries.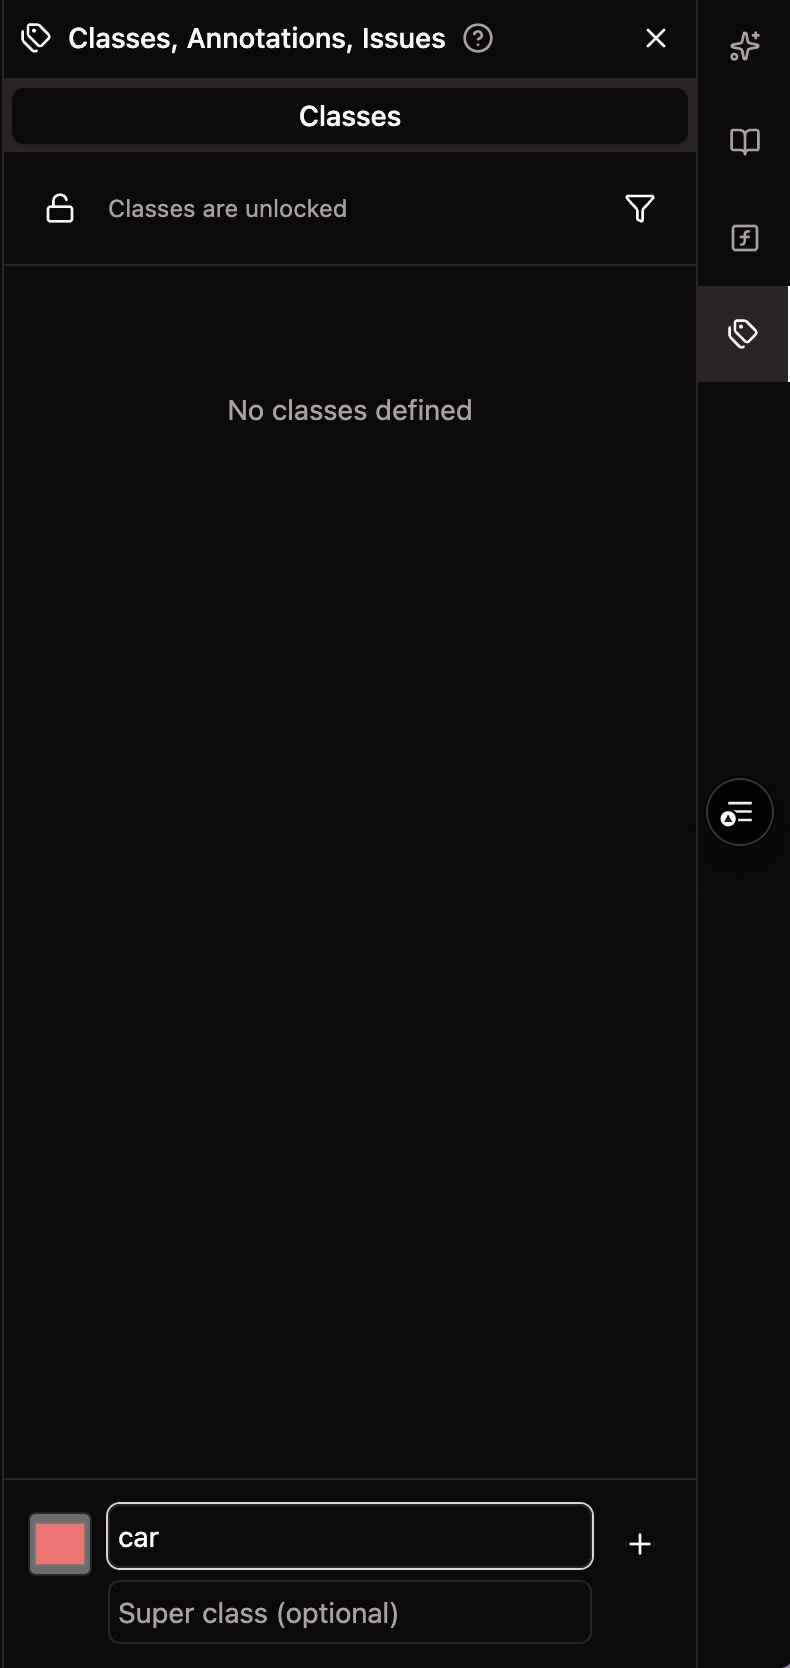
- Class Name: The name of the annotation class
- Super Class (optional): Used to group classes of the same family together for certain model training purposes
Step 2: Edit or Remove a Class
Once a class is created, you have options to manage it.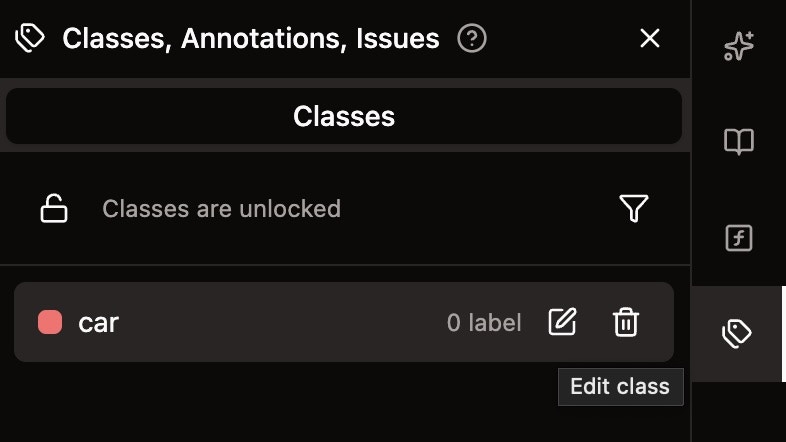
- Edit: Click the edit button to enter edit mode
- Remove: Click the trash button to remove this class
Step 3: Modify Class Properties
When in edit mode, you can modify various properties of the class.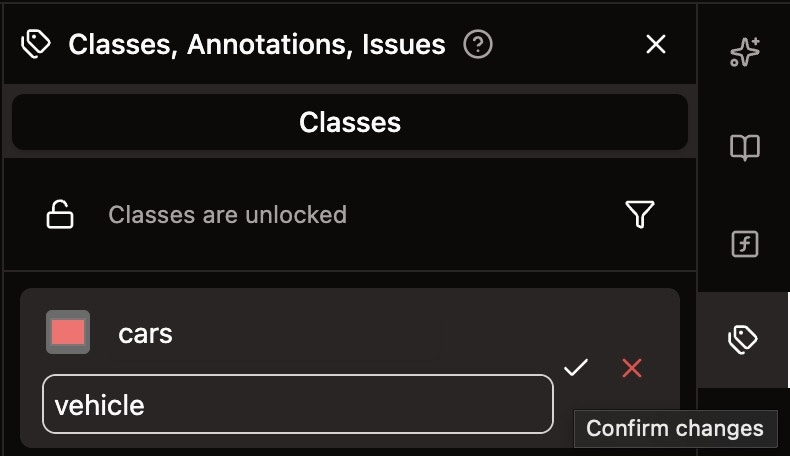
- Class Name: Change the name of the class
- Super Class Name: Update or add a super class grouping
- Class Color: Adjust the color used to display this class in annotations
- Click the ✓ (tick emoji) to save your changes
- Click the ✕ (cross emoji) to cancel changes
Step 4: View Associated Annotations
Each class displays the number of annotations associated with it.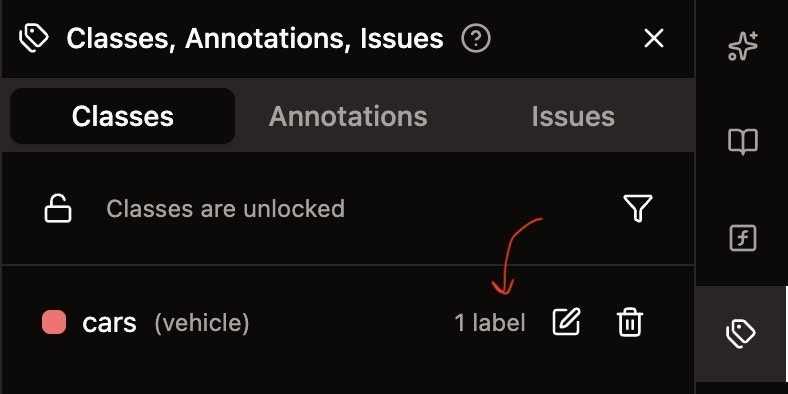
Step 5: Lock Classes to Prevent Changes
Users of the workspace can click the lock button to lock/unlock class edits to protect against mistaken changes.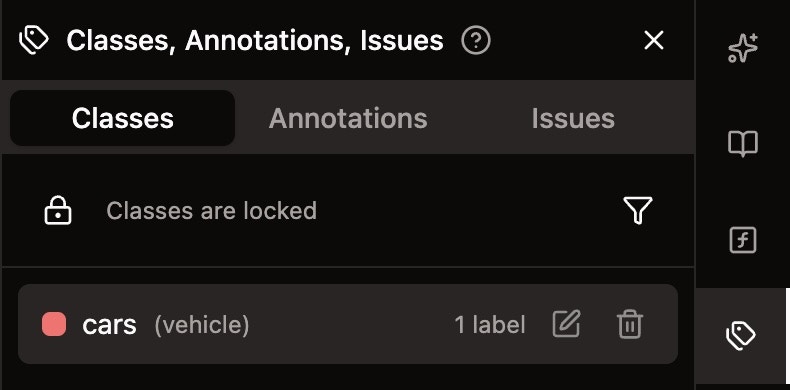
- Other users cannot make edits to existing classes
- Other users cannot remove existing classes in this job
- This protects your class structure from accidental modifications