Step 1: Add Collaborators to Your Workspace
Before you can assign a labeling job to team members, you need to ensure they have access to your workspace. This requires two steps:Add People to Your Team
First, invite users to your team by following the Invite to Team guide. This adds them to your organization’s team.Grant Workspace Access with EDITOR Permissions
Next, give team members access to the specific workspace containing your labeling job. Follow the Invite to Workspace guide and make sure to assign them EDITOR access. Only users with EDITOR access can be assigned as labelers or reviewers.Step 2: Assign Users to the Labeling Job
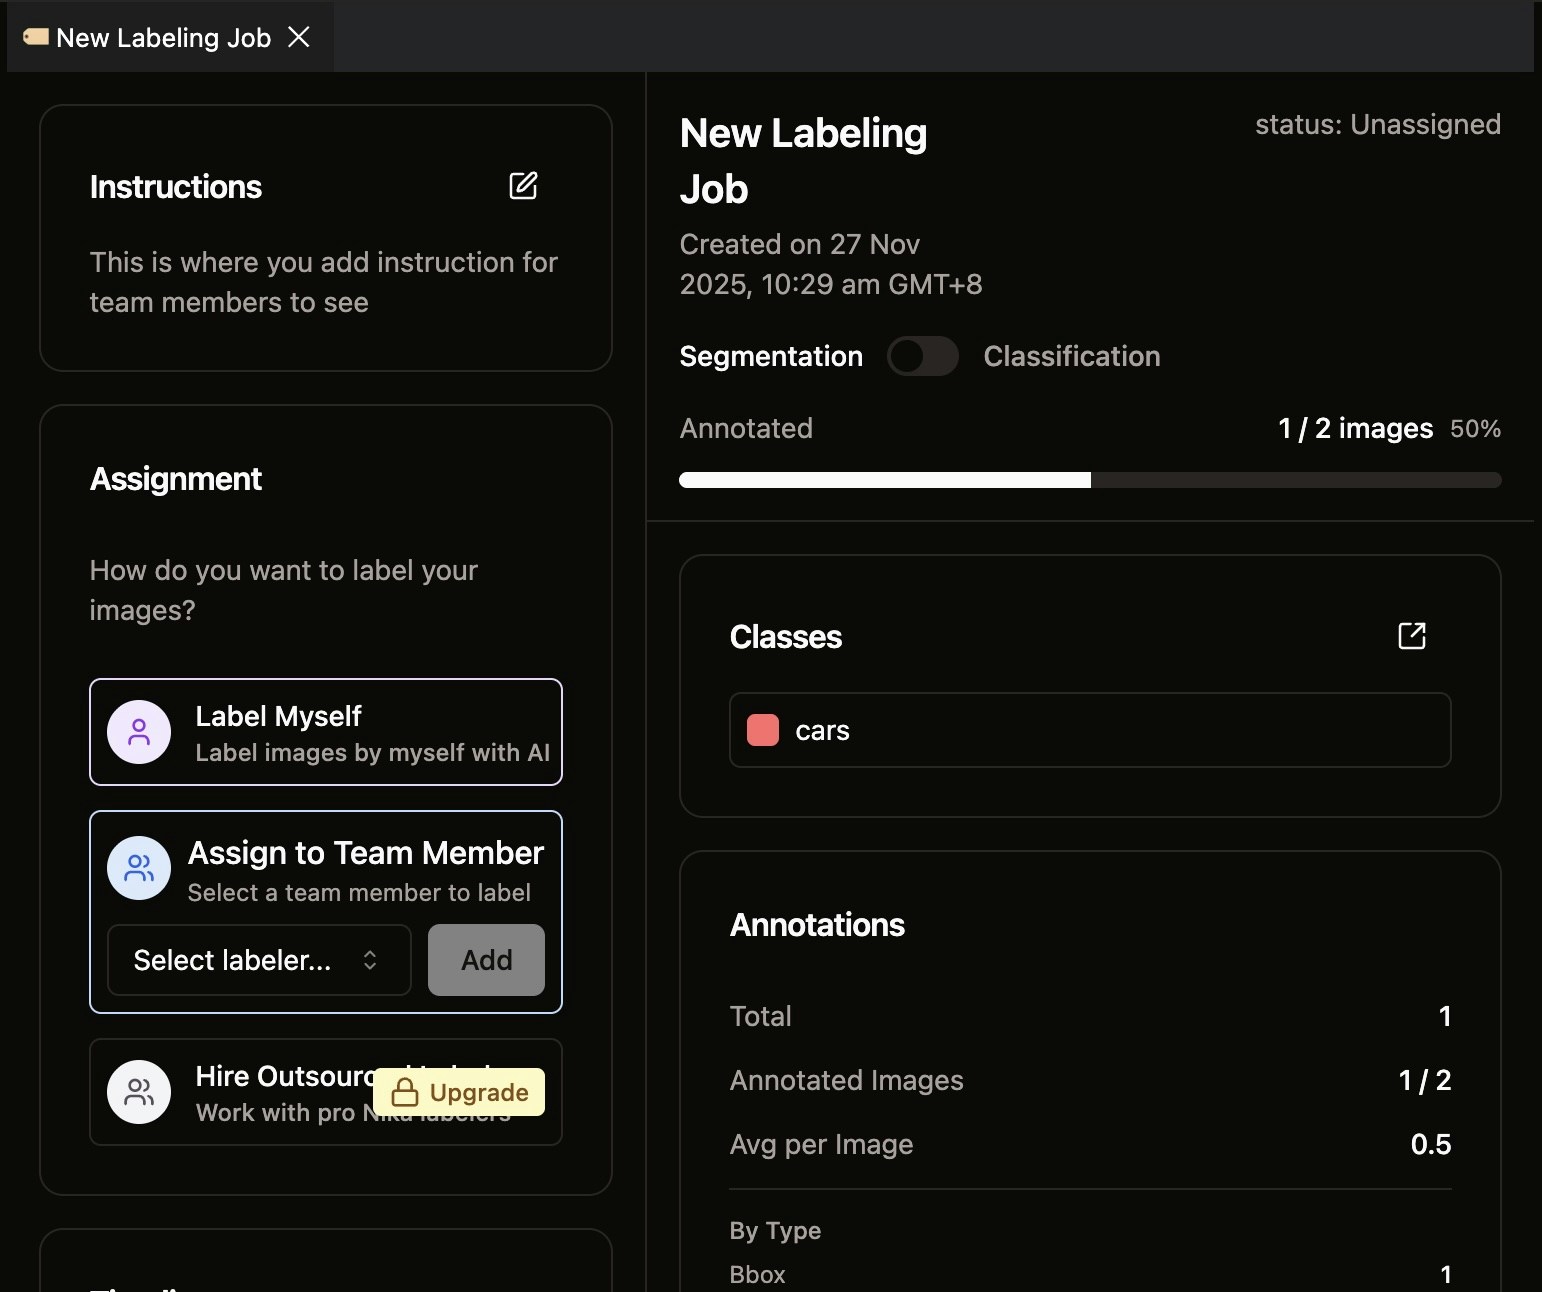
Once your team members have EDITOR access to the workspace, you can assign them to the labeling job.
- Yourself as the labeler
- Other team members who have EDITOR access to the workspace
Step 3: Manage Existing Assignments
Each assigned user has management options available on the right side of their assignment entry.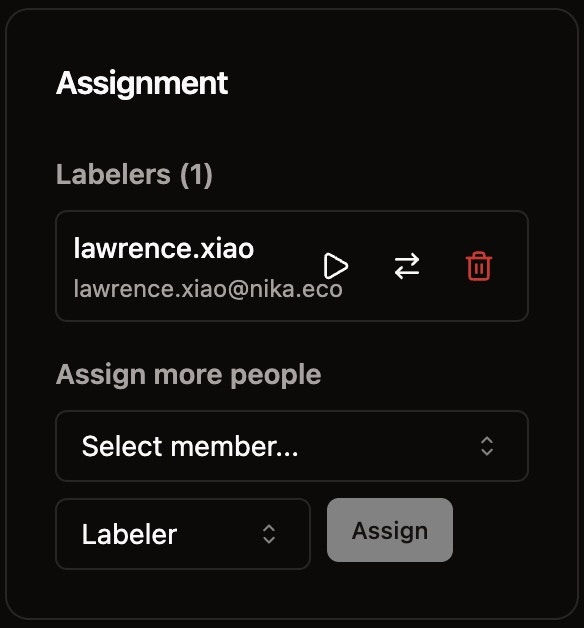
- Switch Role: Click the switch icon to toggle between Labeler and Reviewer roles
- Remove Assignment: Click the trash icon to remove the user from this job
Step 4: Add More Assignments with Different Roles
You can assign multiple users to the same job with different roles using the select dropdown.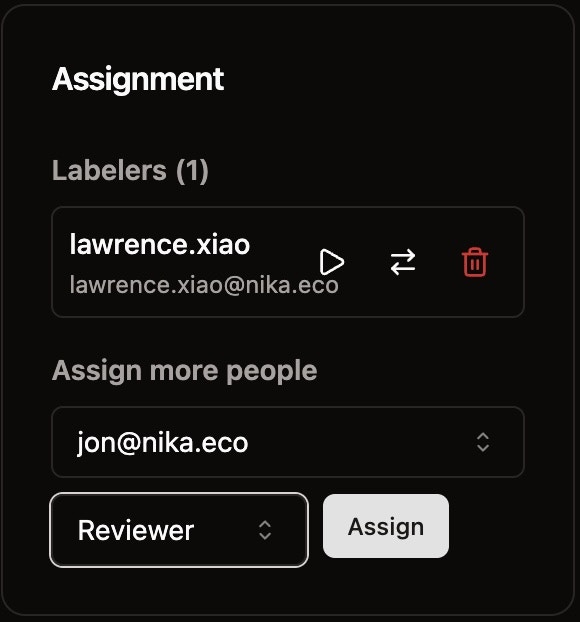
- Assign additional labelers to distribute the workload
- Assign reviewers to quality-check annotations
- Mix roles as needed for your workflow